Amongst the editing, an effect I have not yet achieved is the zoom/transition effect that I am hoping to use for my final media product. Its a scene that I have imagined and recorded in my storyboard where the camera closes in on an eye and zooms right into the pupil before fading out. However, just by increasing the scale of the footage, I believe the effect isn't fully achieved.
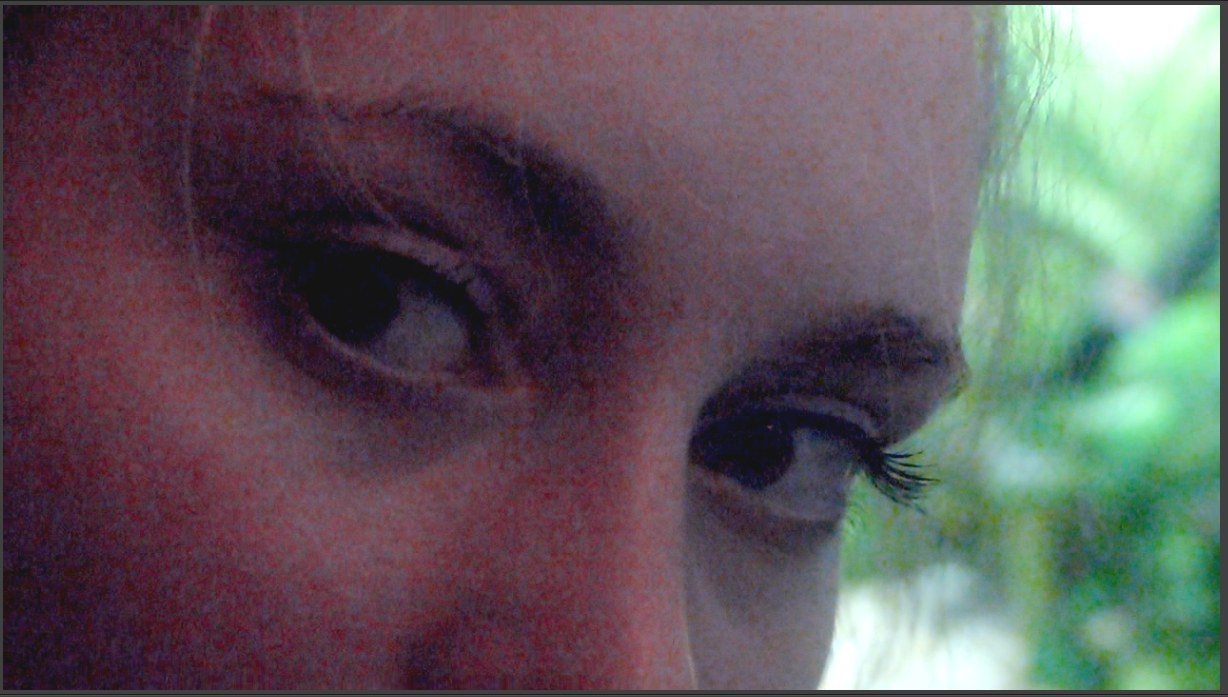
So, I started off with some footage that I captured (me looking into the camera) imported into After Effects.
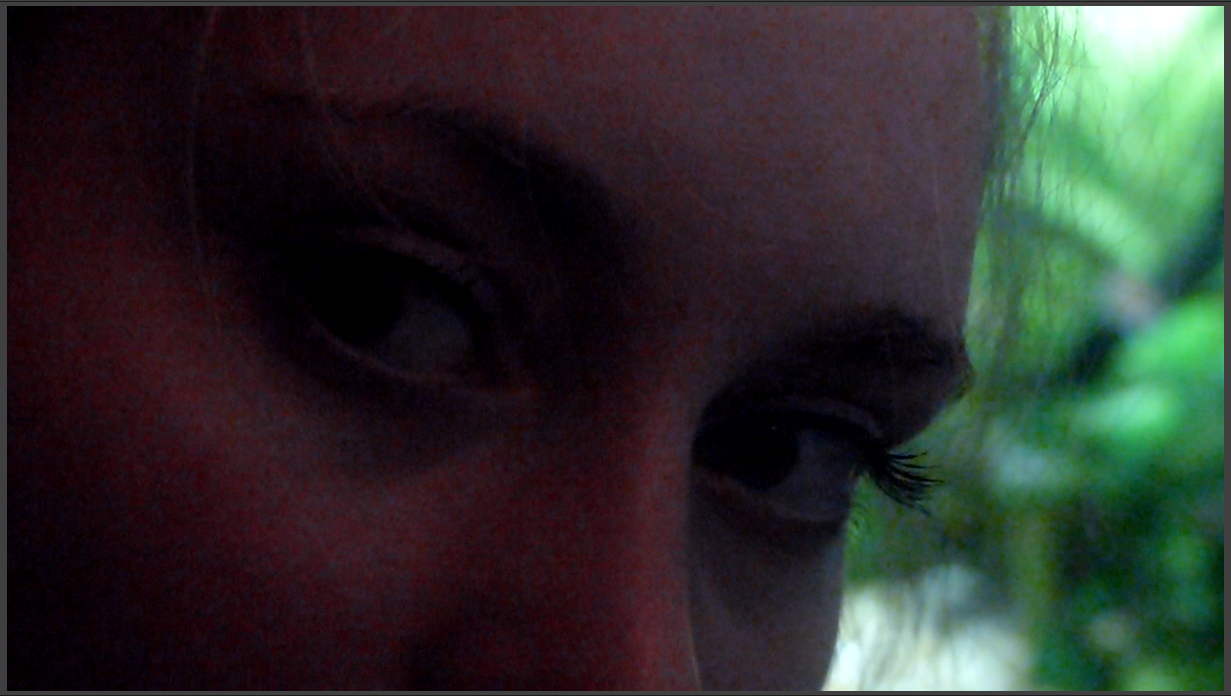 |
| Because the footage was captured in slow-motion mode, there was less light captured by the camera. This resulted to dark footage and it was difficult to pick up the subject in the frame. |
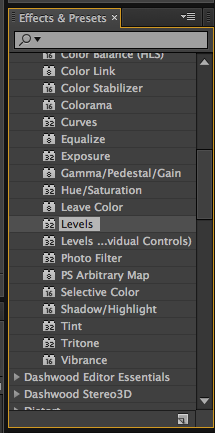 |
| One of the effects I really appreciate is levels. It allows you to adjust the shadows, mid-tones and highlights by dragging these across the histogram where you can see the amounts of the channels across the diagram. I think that by being able to visually witness this information makes it easier to balance the channels. |
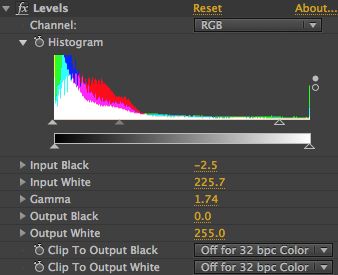 |
| If we look at the histogram for the clip that we're editing, we can see that the greatest amount of channels is crowded on the left of the diagram where most of the shadows are. It looks unbalanced, so I increased the lightness of the mid-tones and highlights by dragging the arrows beneath the diagram that represent these until the footage looked satisfactory. |
 |
| Now we can recognise the face in the frame! |
However, after improving the levels, I noticed that there is grain in the clip, so I decided to take advantage of After Effects before moving onto Premiere Pro.
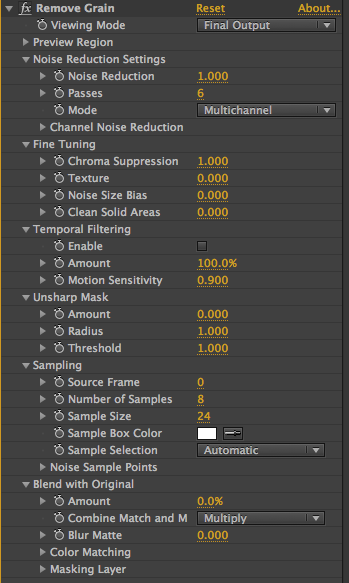
I applied the Remove Grain effect and played around with the settings until I was happy enough with the results.
 |
| Although it hasn't completely reduced the noise within the clip, I was happier with the results as I wouldn't have to work with the heavily-grainy footage like before. It removed more pixels within the clip and reduced the distractions as originally the pixels were very active, especially when the footage itself is slowed down and still that made the grain very noticeable. This is one of the areas I believe I will have to be cautious of when filming for the final music video, such as paying great attention to the lighting to reduce the noise, as I believe the grain impacts the quality of the video heavily. |
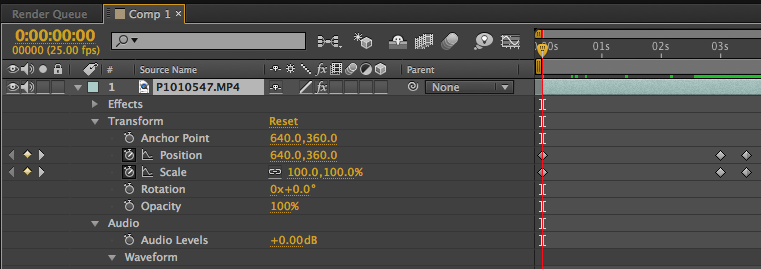
Now that the clip has underwent aesthetic alterations, its time to edit the actual zoom! I decided to start off with adjusting the scale using keyframes to animate the zoom. I decided to have the camera come in close slowly before rapidly zooming in, so I set the first keyframe at 100%, second locating it a few seconds later with adjustment of about 106% so that the zoom is slow, and set the third keyframe close to the previous one for quick transition between the two, scaling the footage so that the pixels are clearly visible - percentage an approximate estimate so that the pupil of the eye fills up almost entire frame. At this stage, i was still unsure if I scaled the clip enough without actually positioning the frame so that we are looking at the eye. Because the left eye that we're zooming in on isn't centred in the shot, I have to carry out some adjustments to the position of the clip. Following the scale's keyframes, I positioned them aligned together so that both animated in harmony.
 |
| I noticed that the path of the position of the clip's keyframes has distorted slightly, but it was easy to adjust like when masking a subject using the pen tool. I altered these settings so that the movement travelled in a straight line rather than following along the unnecessary curve. |
 |
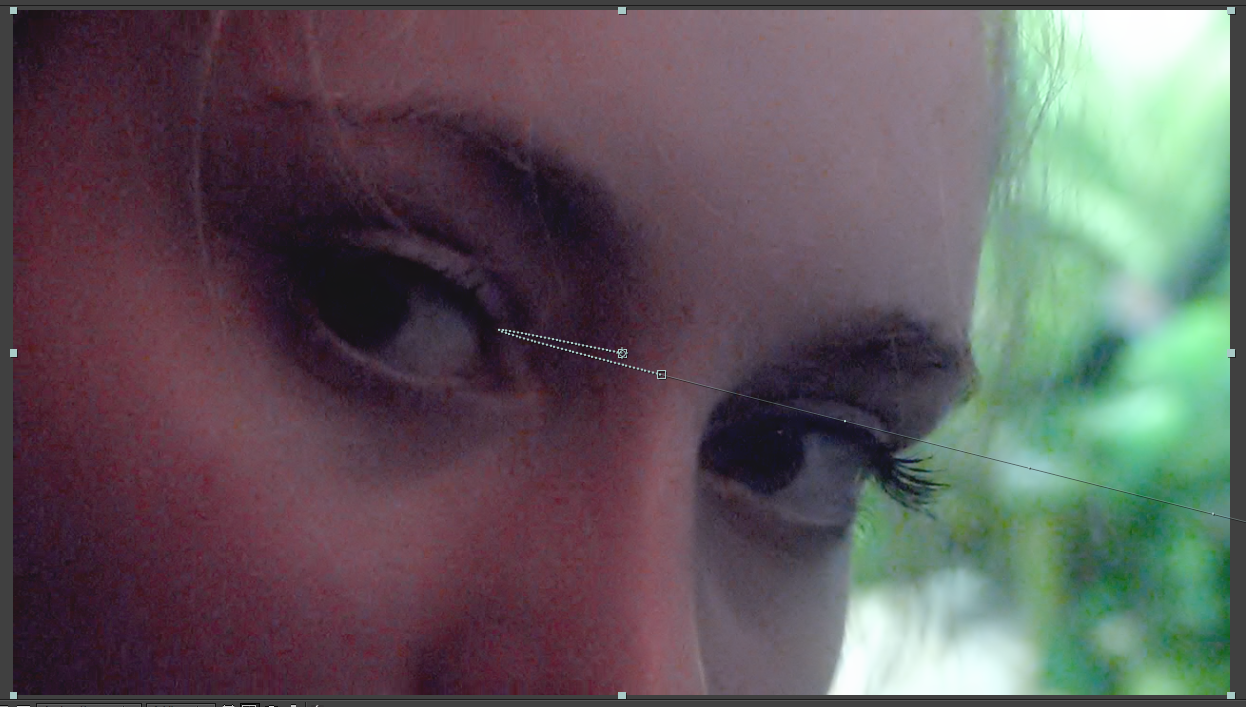
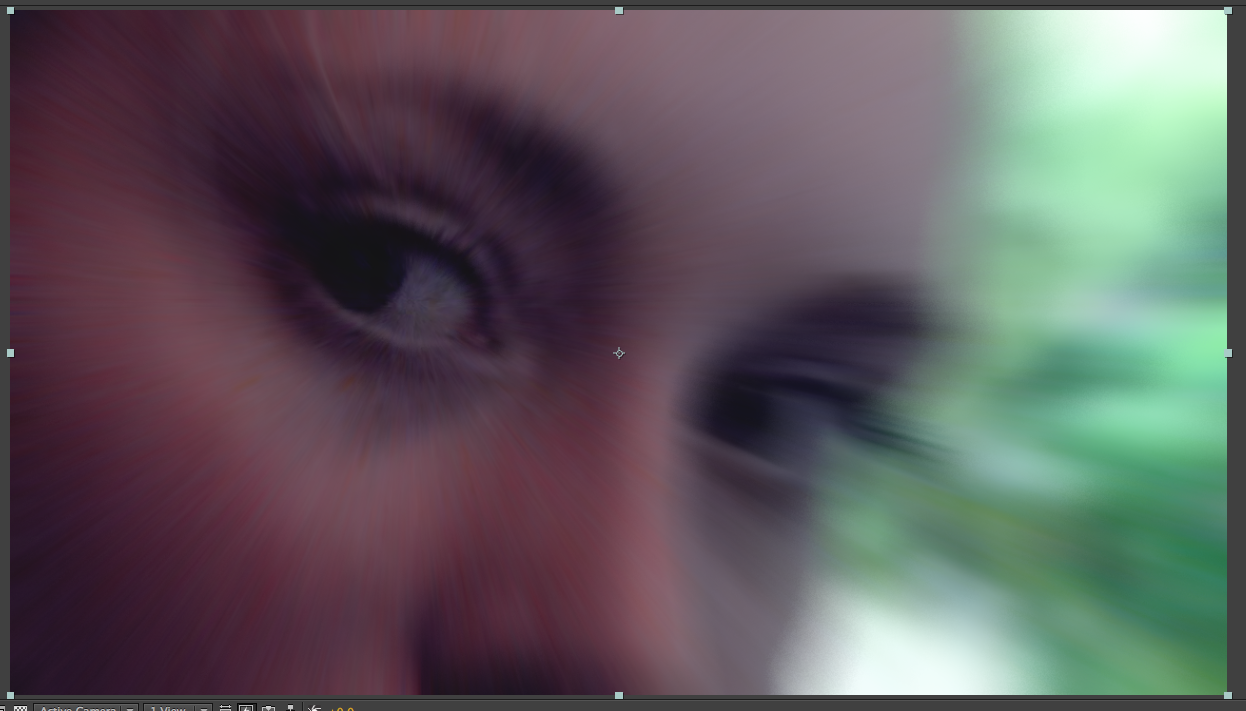
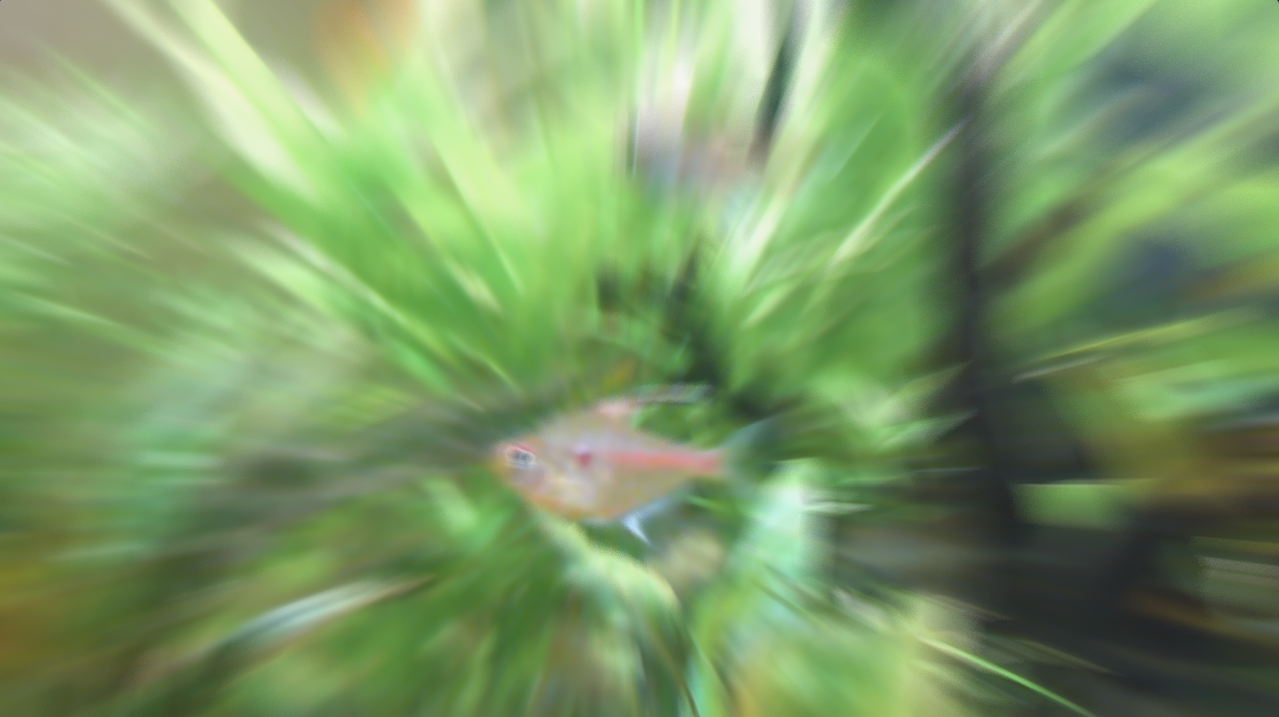
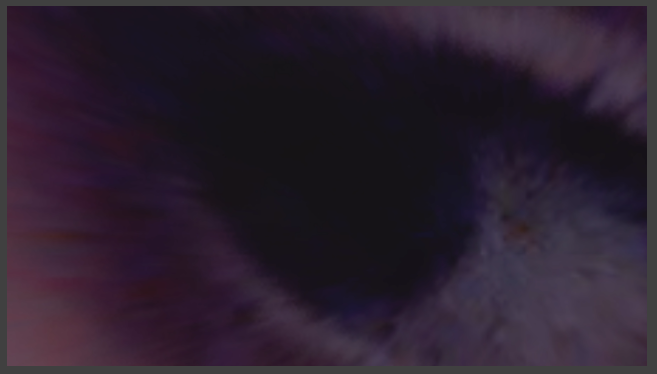
| Following along the timeline, towards the last keyframe, we have a very up-close view of the pupil on screen - just what I intended. |
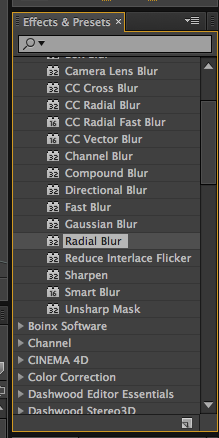 |
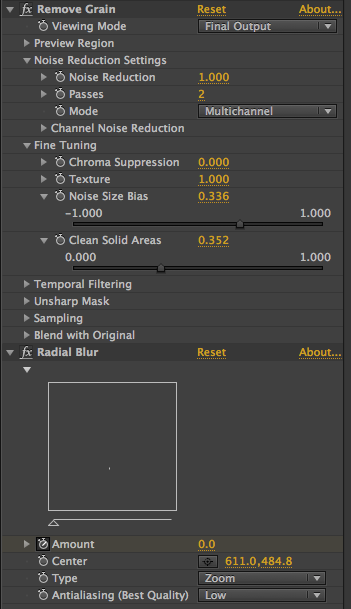
| I think what was missing from the effect was a sense of movement in the actual zooming in and all. One of the blurs that are hard (or probably impossible) is the radial blur. It gives you the option to select your focus point on the clip, blurring the area around it in either a spin (footage smudged in circular motion going around the focal point) or zoom (footage is smudged from focal point going outwards, or vice versa) effect. Amongst these, there are other adjustments you can set, such as the strength of the blur you wish to apply on the footage, and so on. |
 |
| In our case, we're zooming in on the focal point, so I chose the zoom type from the drop down menu. I also relocated the focal point so that it was focused around the left eye area. |
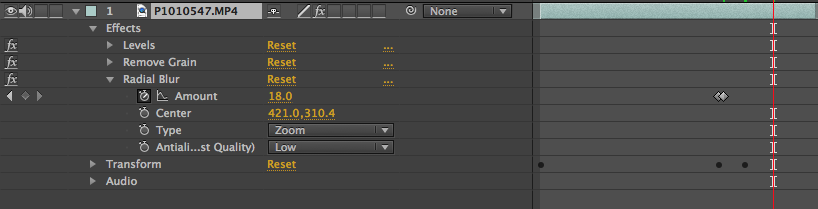 |
| However, the actual zoom doesn't begin until a few seconds later, so, once again, I applied some keyframes and set them aligning close to the other keyframes belonging to position and scale settings. I used these keyframes to set the amount of the blur, transitioning from 0.0 to 18.0 between the two keyframes. |
Looking at the current composition, I didn't like how the zoom tended to drag on for too long.
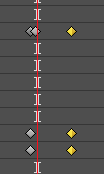 |
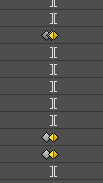
| To increase the speed, I had to decrease the amount of time that passes between the keyframes to quicken the transition. I was able to select several keyframes by dragging the cursor and highlighting those that were necessary to move, and drew the distance between the sets of keyframes closer to each other. |
 |
| However, at this moment, the movement was too sudden, and I wanted a smooth change between the keyframes. I noticed that there isn't a way (I wasn't able to find a way, would be a better way to word it) to alter the velocity of the keyframes like you can in PP, so in the end I removed the changes to the scale and position of the clip, leaving the radial blur that is unachievable in Premiere Pro. |
 |
| To remove the changes, firstly I clicked on the Time-Vary stop watch, the area which contains the keyframes. By deselecting this button, I was able to delete all the keyframes, speeding up the process. |
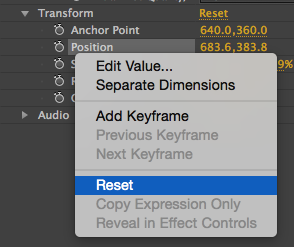 |
| However, it didn't completely reset the clip, so I had to right-click on position and scale and select Reset in order for the footage's settings to return to original form. |
 |
| In the end, I settled with the radial blur as I'm unsure of how to do this effect on Premiere Pro, but I am confident in applying the same changes for the scale and position of the clip using the program. |
|
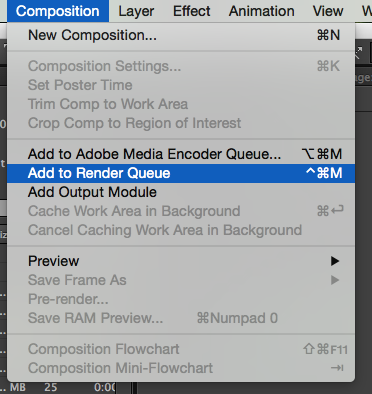 |
| I added the current composition to Render Queue so that the file could be used for Premiere Pro. |
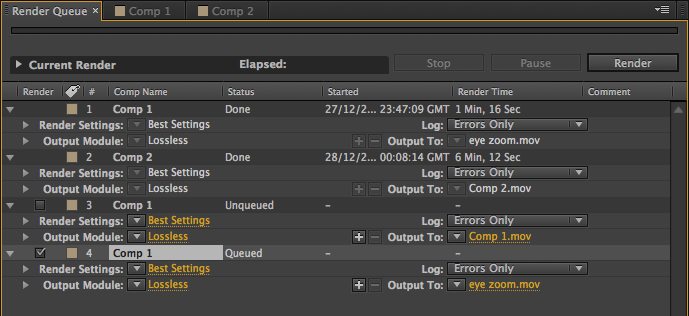 |
| I ticked the right composition before pressing Render on the top right of the screenshot. |
I decided to have the transition happen between two clips rather than just fading the zoom to black. So, I picked one of the slow-motion footage on my tropical fish to match the sequence (since both were taken during the same shooting).
The footage underwent similar changes as the previous footage of the eye, such as
removing the grain from the video, adjusting the
levels, and applying the
radial blur effect again to improve the zoom.
 |
| This time, because this footage has much better lighting than the previous one, it had less grain to remove, so the amount wasn't as large as the amount applied on the first composition. I also relocated the focal point for the radial blur so that the focus was on the centre of the fish. I decided on the fish at the bottom as it seemed to stay more still and also, in a way, payed more attention to the camera so it naturally gains more attention from its audience. |
 |
| If we look at the histogram for this footage, we can see that the channels are much more balanced across the diagram, so not many changes were necessarily made. |
Afterwards, I rendered this composition too before opening up Premiere Pro to begin putting the two together.
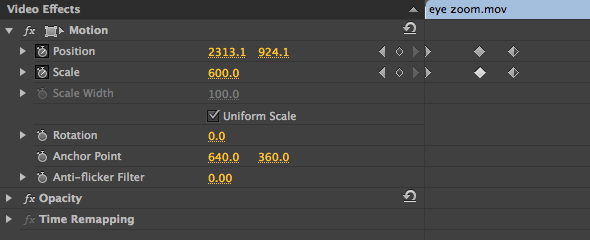 |
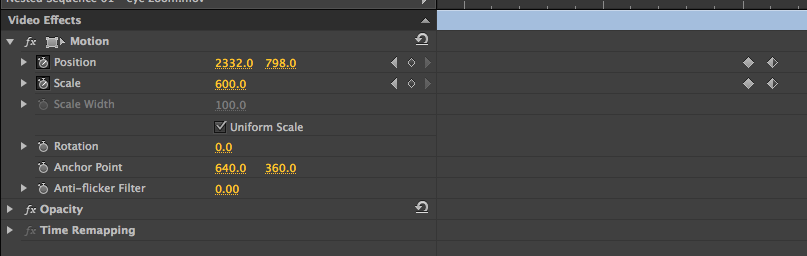
| The footage of the eye was imported first as I wanted to adjust the scale and position first. I noticed that the limit for scale is 600.0, and it doesn't seem enough, but I'll take care of this later. |
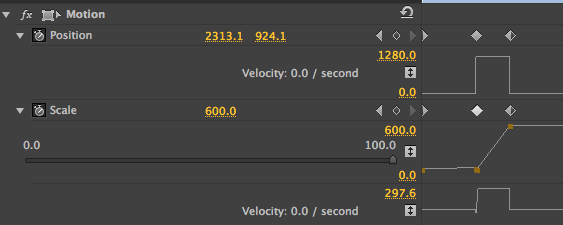 |
| If I click on the arrows on the left of the stopwatches for both position and scale, there's is an area dedicated for velocity. They're like additional keyframes underneath the original ones, and by playing around with them, you can change the speed of the transition between the keyframes. By curving the velocity's line, it will smoothly animate from keyframe to keyframe... or should. |
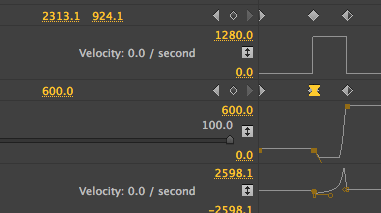 |
| Although I curved the velocity, and the movement between the keyframes became smoother, it affected the scale, which triggered the position, and I wasn't sure how to take care of this. |
 |
| In the end, I settled with no changes to velocity as the accidents were alien to me. Although the animation between the keyframes was slightly jagged, I thought that by having the transitions quicker by closing in on the distance between the keyframes, would somewhat fool the audience. |
 |
| Now paying attention to scale once again, I'm unsatisfactory with the current amount of zoom. |
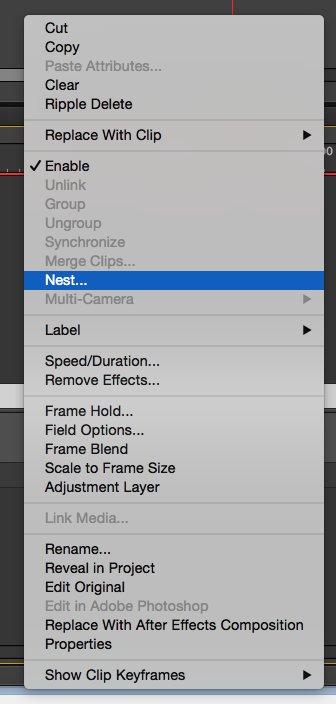 |
| To be able to zoom in even further, I nested the sequence by right-clicking and selecting nest. |
 |
| Now, I was able to zoom in even further as the clip was created as a new file with ordinary settings once again. I scaled up just enough to have the pupil fill up most of the screening. |
 |
With the eye ready, I was able to begin editing the transition between the two footages. I imported the fish clip and located the start and the ending of the blur that were edited in After Effects so I could get the timing of the zoom between the two clips. One thing I didn't alter in the previous clip was the opacity. In this one, I need the clip to fade in when the camera is panning in on the eye. I used 2 keyframes for this; one set at the very beginning with the amount of 0% opacity, and the second one a few seconds later has 100% opacity. Without these settings, the second footage will randomly appear in the eye before we actually even zoom in, which ruins the flow of the effect.
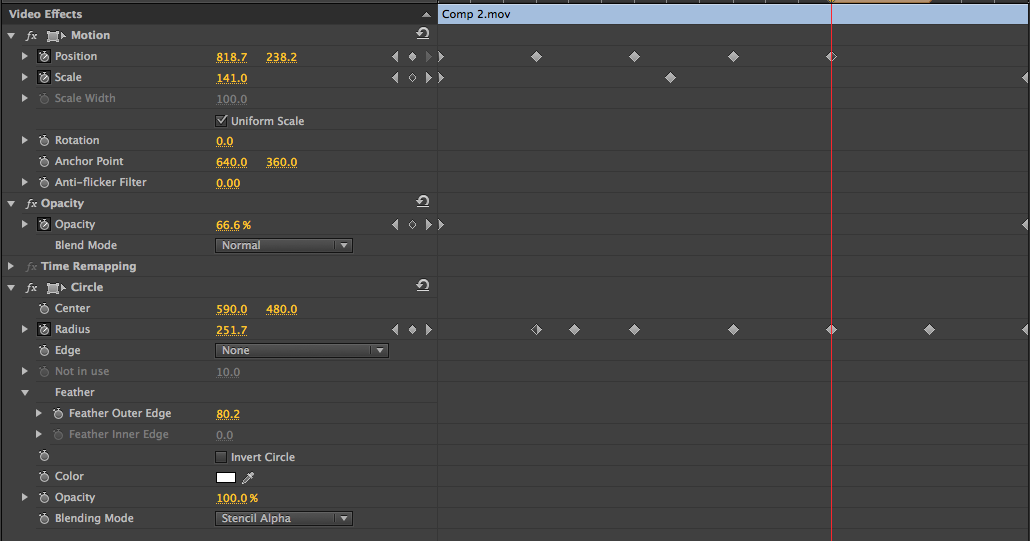
I found an interesting effect named Circle. What it does is basically cut out a circular shape of the footage applied to. You can reverse this effect, like I have for our case, so that the shape cuts out the rest of the footage but not its focus plot. Other options that are available for the effect are things like the radius, which adjusts the size of the circle, and feather, which softens the edges. I used these two to improve my effect by enlarging the radius as we zoom in on the pupil so that the circle scales up to a close size to the pupil.
Other things I had to adjust were the position of the circle so that it was hovering above the pupil to create the effect of us looking into the eye and transitioning into the second clip. I used keyframes once again to get the even flow of the movement. |

Result!